Deciding whether to buy
The listing photo is on a model who is not shaped like you. Seeing it on your own photo answers a different question.
Upload a photo of yourself and a photo of the piece of clothing. The garment is rendered onto you with its real colour, fabric and details — your pose and background stay where they were.
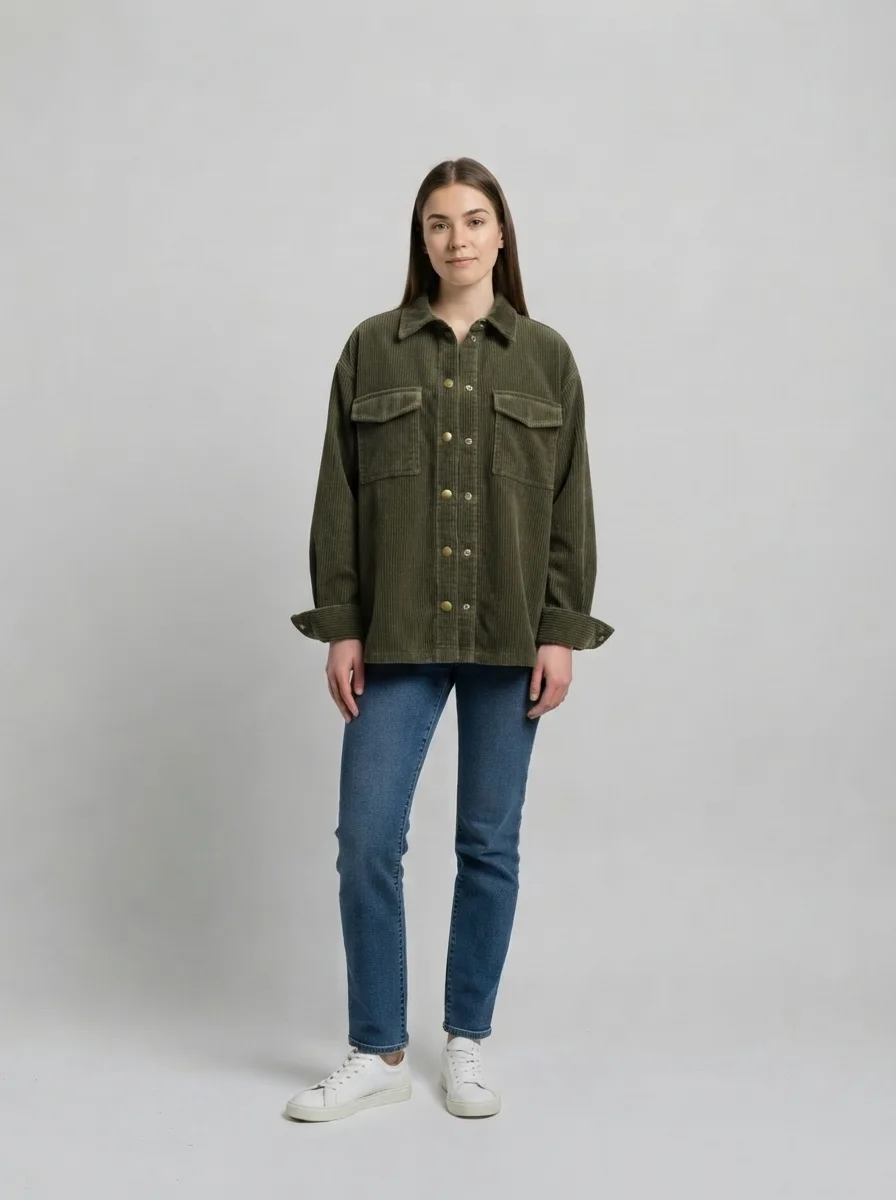
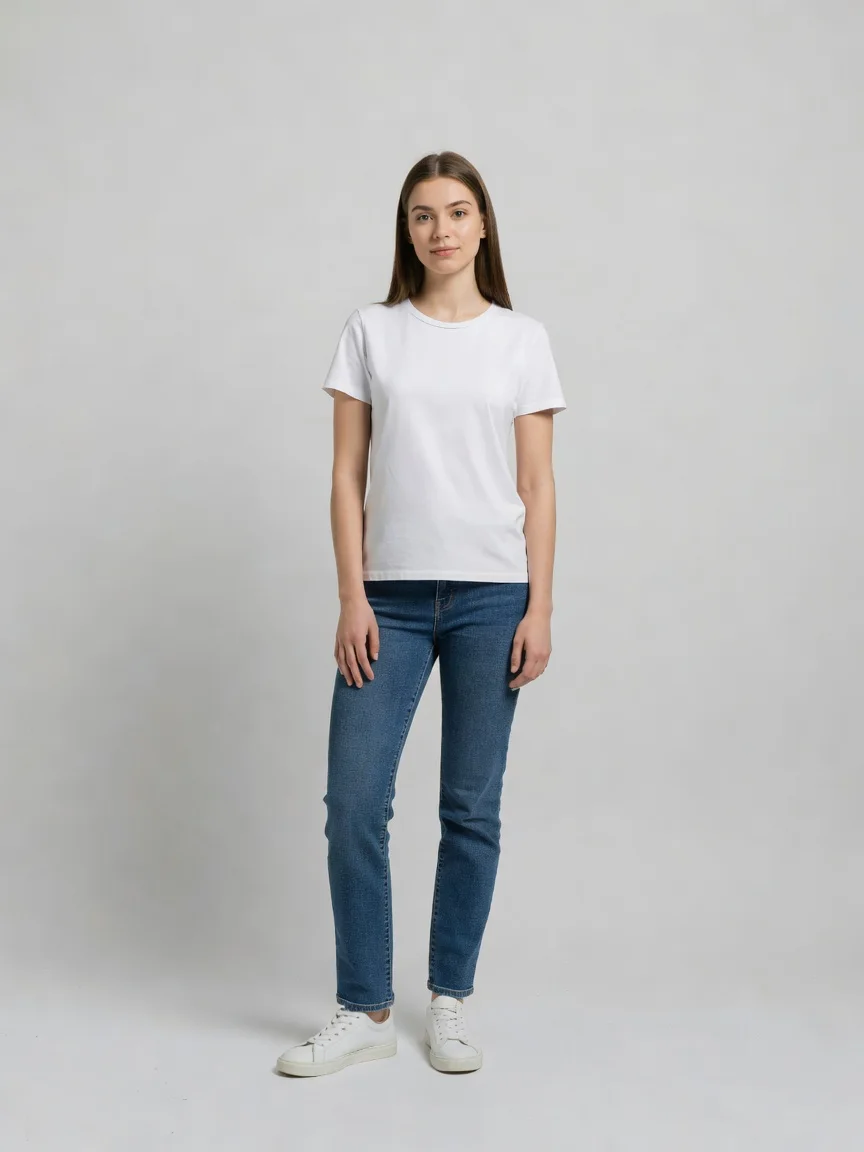
Our own run — drag the handle to compare.
Subscribe for more credits and more models.
Upload two photos — one of the person, one of the garment — and generate. In about thirty seconds the clothing is rendered onto the person with its real colour, fabric, buttons and stitching, while the pose, the rest of the outfit and the background stay as they were. Following us on X and YouTube earns 20 free credits and a run here costs four, so your first five looks are free; after that each one is billed per image. Flat product shots on a white background give the best result.
Want to change the background instead of the clothes? Use the background changer
Three quite different jobs, one tool.
The listing photo is on a model who is not shaped like you. Seeing it on your own photo answers a different question.
Small sellers with flat-lay product shots and no budget for a model and a studio day.
Comparing a jacket against two knits on the same photo, without ordering all three.
Checking how a piece reads at full length before you commit to the shipping and the queue.
The quality of the two photos decides almost everything.
Facing the camera, arms slightly clear of the body, whole garment area visible. A plain background helps but is not required.
A flat product shot on white is the strongest input. A photo of it on another model works but adds a body the tool has to ignore.
Keep the original shot, or crop to waist-up so the garment fills more of the frame. Add fit notes if a detail matters.
From four real runs on 2026-08-25. The pattern surprised us: the clothing is the strong side and the person is the weak one.
| What you are checking | What actually happens | What to do |
|---|---|---|
| Colour, fabric and cut of the garment | Strong — corduroy wale, knit gauge and ribbing all carried over accurately | Nothing needed |
| Hardware and details — buttons, pockets, cuffs | Strong — brass press studs, flap pockets and rolled cuffs all survived | Use a flat product shot so the details are visible |
| A printed graphic or text on the garment | Better than expected — a chest print with wording came through intact in our test | Say "reproduce the chest print exactly" in the notes box |
| Your own face | ⚠️ Drifts. In all three of our runs the jaw and chin came back visibly different | Treat it as a look preview, not a photo of you |
| True fit and size on your body | Not simulated — the drape is plausible, not measured. It cannot tell you if a size M fits | Use it for style, not for sizing |
| Complex poses, crossed arms, someone holding something | Weaker — the model has to invent what is behind the arms | Use a photo with arms clear of the torso |
Each pair is the product photo we fed in and the result we got back. Everyone shown is an AI-generated character, not a real person.
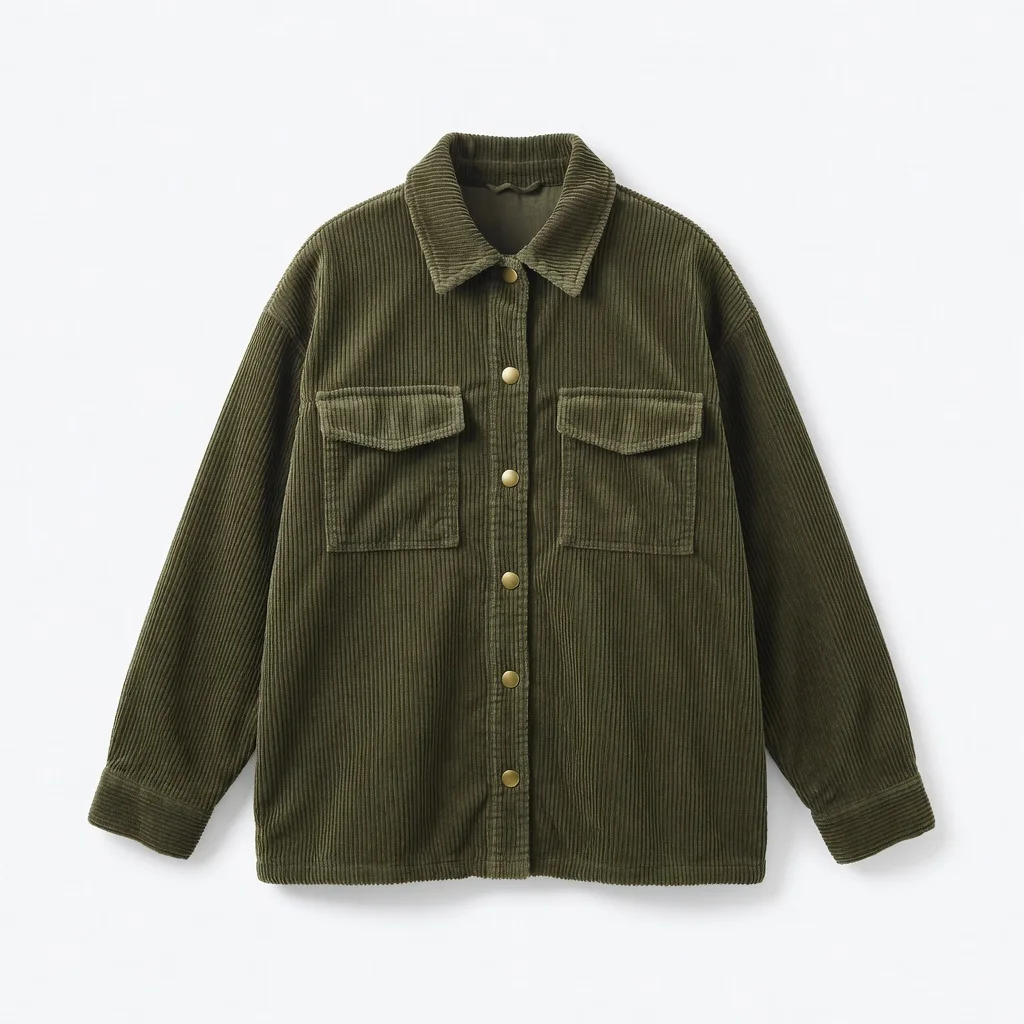
Flat product shot on white — the input format that works best.
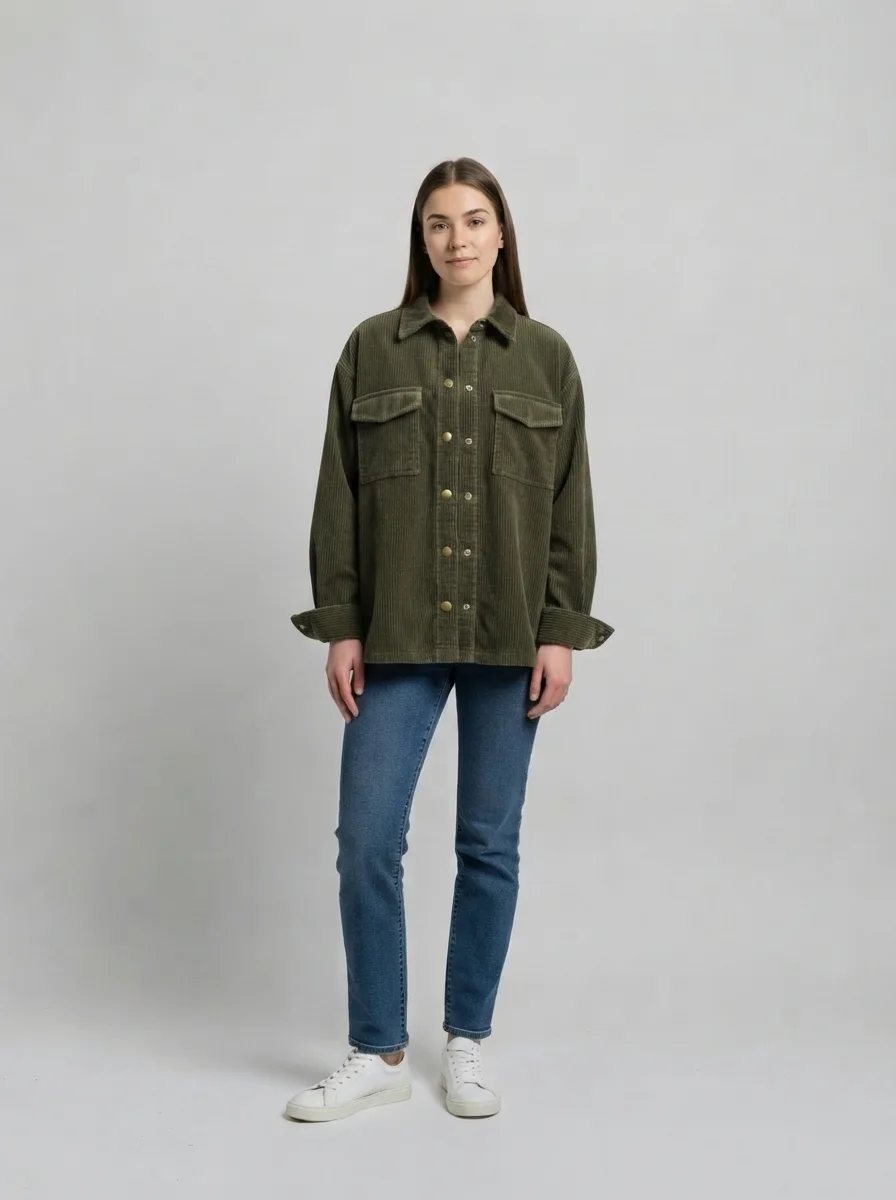
Wale, collar, flap pockets, brass studs and rolled cuffs all carried across.
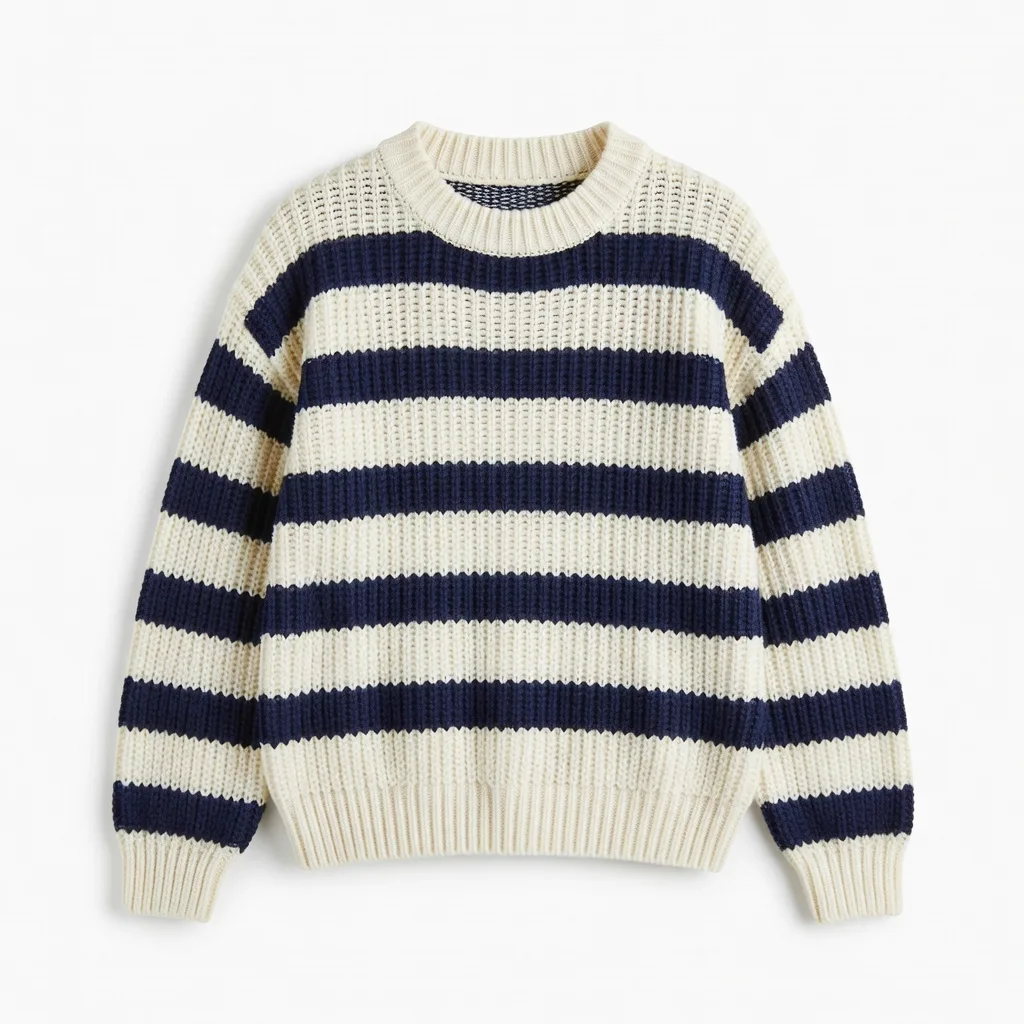
A harder case — knit texture is easy to smooth into flat colour.
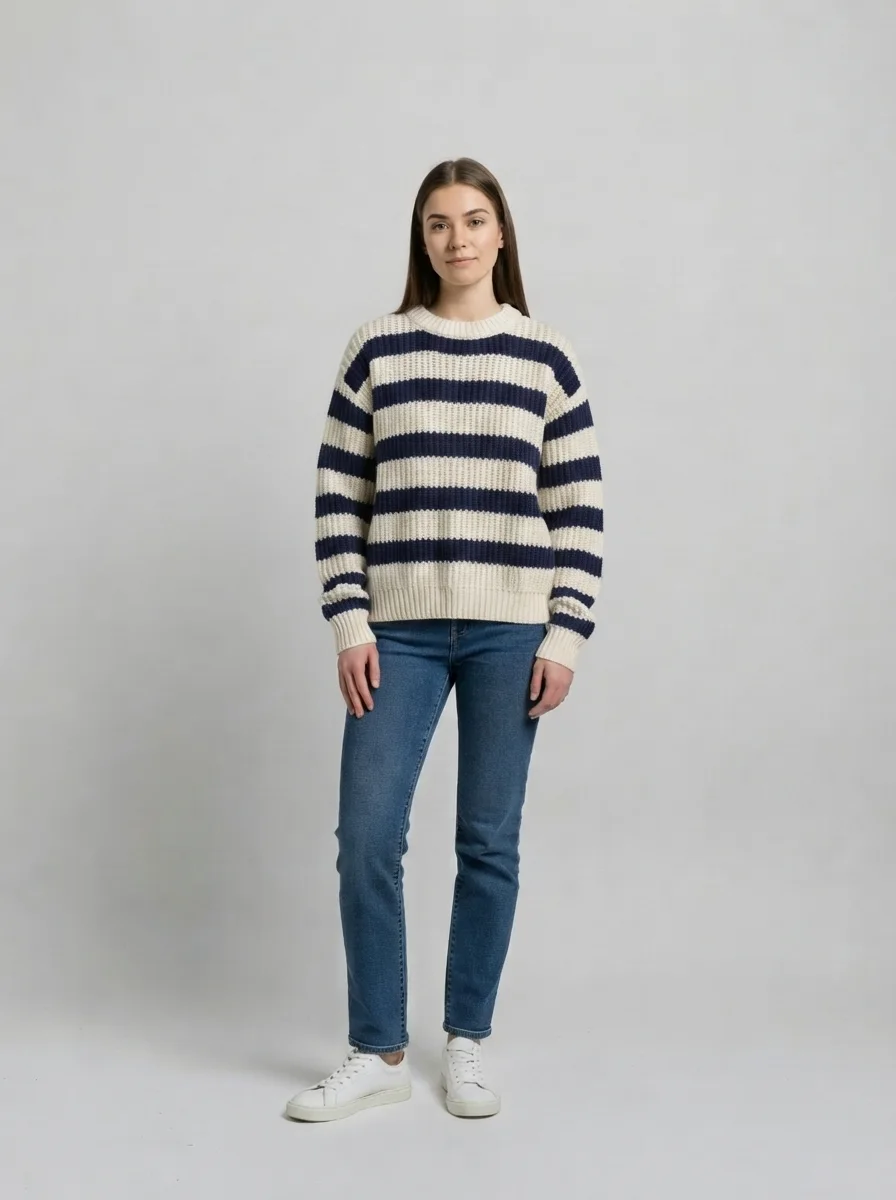
The stripe rhythm and the ribbed neck came through rather than flattening out.
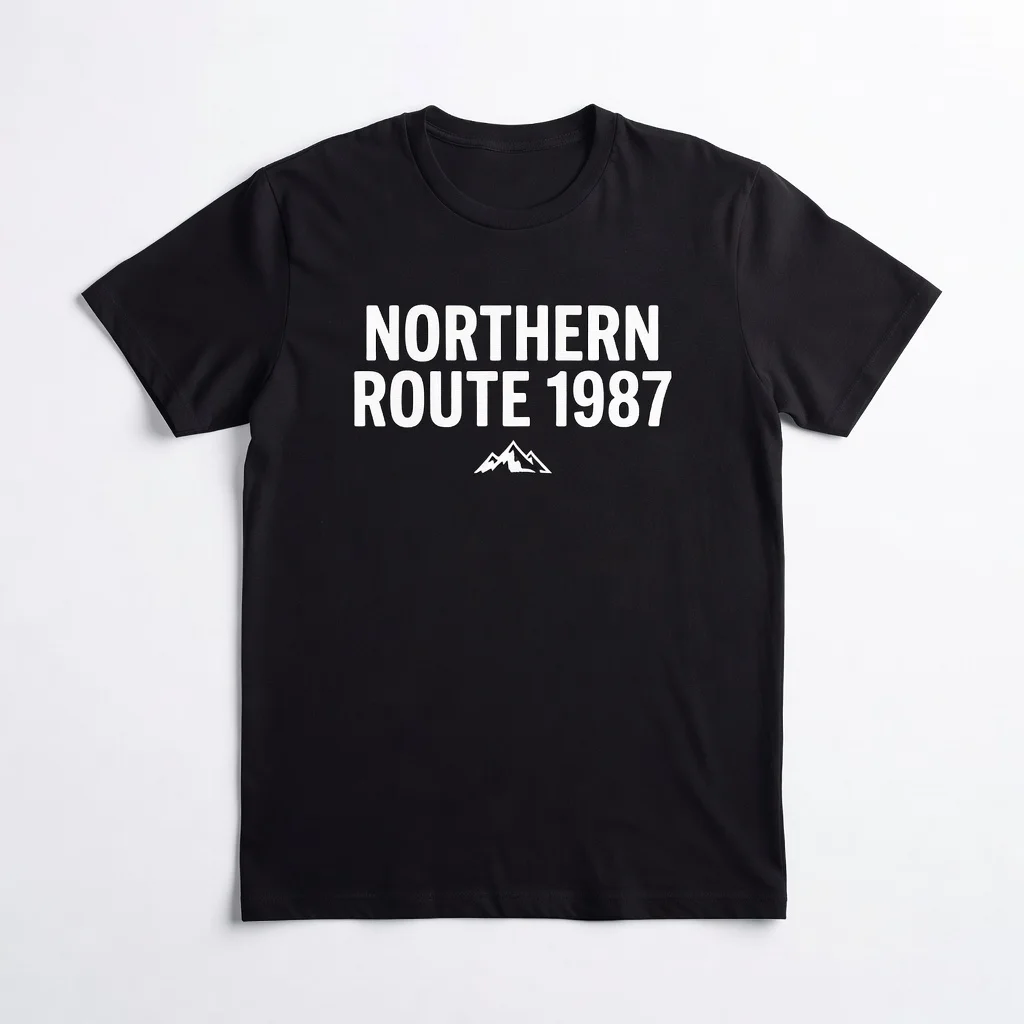
We expected the print to garble. It is the case most tools quietly fail.
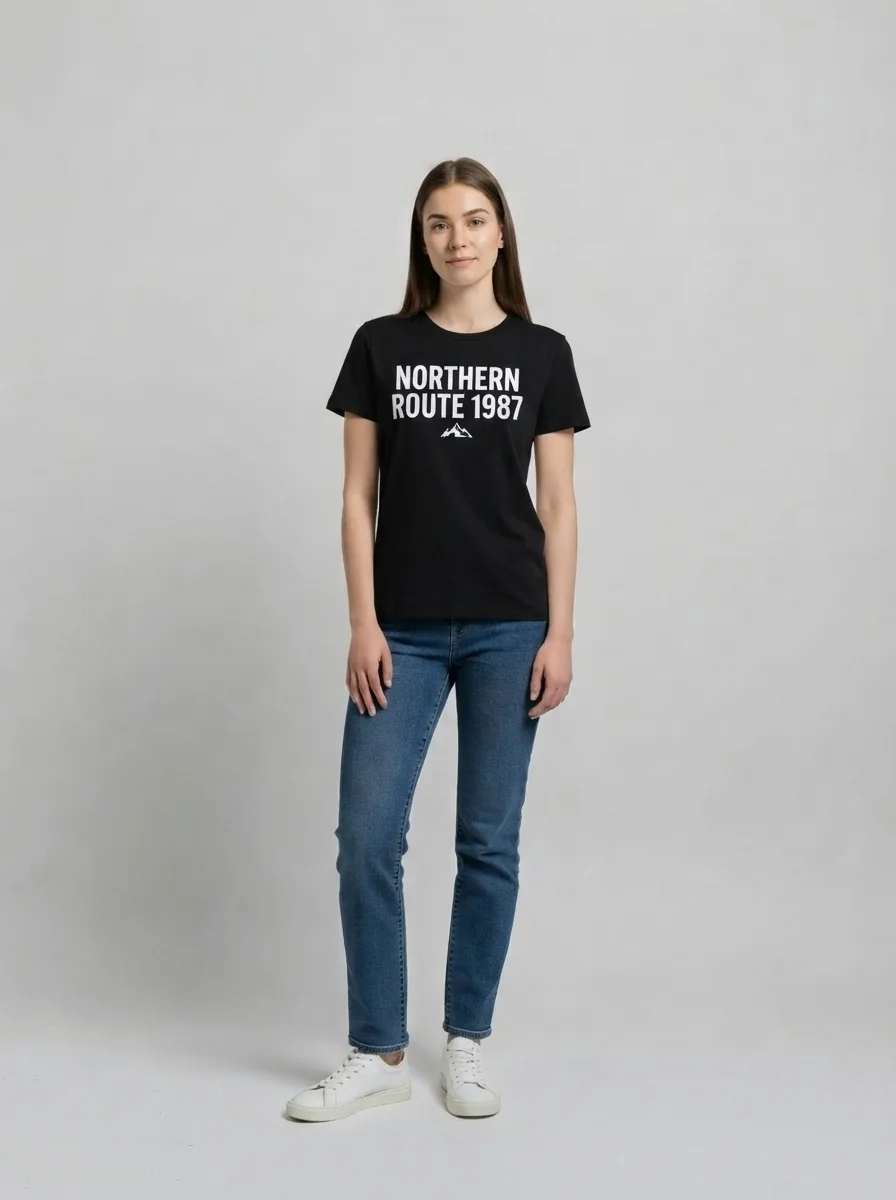
Wording and logo both intact. The face, however, is not quite the same face — see below.
Every tool in this category sells the same fantasy — that you will see yourself wearing the thing. Our own testing says half of that is true, and it is worth knowing which half before you make a decision off the back of an image.
The garment half is genuinely good. We ran three quite different pieces through this page at its own tier: an olive corduroy overshirt, a chunky cream-and-navy striped knit, and a black tee with a chest print. The corduroy came back with its wale direction, its collar shape, both flap pockets, the brass press studs and even the rolled cuffs. The knit kept its gauge and the ribbing at the neck instead of flattening into a stripe pattern. The printed tee — the case we expected to fail — reproduced the wording and the mountain logo intact. If your question is "what does this piece look like on a body", the answer you get here is a fair one.
The person half is where it slips. In all three runs the face came back subtly but visibly different: a rounder jaw, a changed chin line. Not a stranger, but not the same photograph either. This is inherent to how the edit works — the model is regenerating the image with new clothing in it, not compositing a garment over untouched pixels — and it is the thing every competitor page implies is solved.
So use it for what it actually answers. "Does this shape and colour work on someone with my build, in this light, with these jeans" — yes, reliably. "Is this a photo of me in that jacket that I can post" — no. And it does not simulate fit: the drape is plausible rather than measured, so it cannot tell you whether the medium will be tight across the shoulders. That is still a tape measure and a size chart.
One practical note that changes results more than anything else you can control: feed it a flat product shot on white. A photo of the garment already worn by another model means the tool has to work out which parts are clothing and which are the other person, and detail gets lost in that step. The listing image with nobody in it is the good one.
There are three ways to see a garment on a person and they answer different questions.
Retailer try-on — the AR fitting rooms built into some shopping apps — has one big advantage: it knows the product. It has the real measurements, the real fabric behaviour, sometimes your saved size. It also only works inside that retailer, on that retailer’s catalogue, and usually on a small subset of it. If you are buying from a shop that has one, use it. Most of what people want to try on is not in one.
Photoshop is the exact opposite. Total control, real compositing, an unchanged face because you are working on the actual pixels — and half an hour of masking, warping and shadow work per garment, plus the skill. It is what a retoucher does for a catalogue, and it is not what anyone does to decide about a jacket.
This page is the general-purpose middle. Any garment photo from anywhere, any photo of a person, about thirty seconds, four credits, five free runs to start. You lose fit accuracy and you lose exact facial identity; you gain being able to do it at all, on any product from any shop, right now. Knowing which of the three you need is most of the decision.
A photo of yourself is personal. What happens to it here:
Picking a file only previews it on your device. Not one byte is stored until you sign in and click generate.
Uploads land in your private library, never a public gallery, and re-running the same photo stores nothing new.
Remove uploads and results from your library whenever you want.
Credits work across every tool — upscaling, image editing and the video models.
For first-time AI content creators
Billed $168 annually
Upgrade PlanSave $72/year
For creators shipping content every week.
Billed $504 annually
Upgrade PlanSave $216/year
For studios and pros producing at commercial scale.
Billed $1680 annually
Upgrade PlanSave $720/year
For first-time AI content creators
Billed monthly
Upgrade PlanFor creators shipping content every week.
Billed monthly
Upgrade PlanFor studios and pros producing at commercial scale.
Billed monthly
Upgrade PlanRenews automatically each year until canceled.
Renews automatically each month until canceled.
Change the backdrop behind the result, upscale it for a listing, or open the Images surface for stronger models.
You give it two photos — the person and the garment — and it regenerates the photo of the person with that garment on. It is not a cut-out pasted over you: the model re-renders the clothed area, which is why the drape and shadows look natural and also why the result is an interpretation rather than an edit of your original pixels.
Following us on X and YouTube earns 20 free credits and a run here costs four, so your first five looks are free. After that each one is billed per image. There is no free plan and no trial — the credits are a one-time grant you can spend however you like.
The clothes will look like the clothes. Your face will be close but not identical — in our own testing the jaw and chin came back visibly different every time. Treat the output as a preview of how a garment reads on a body like yours, not as a photograph of you that you would post as real.
No. The drape is plausible, not measured — the tool has no idea of your measurements or the garment’s. It answers "does this shape and colour work", not "is the medium going to be tight across the shoulders". For that you still need the size chart.
A flat product shot on a white background — the kind of image a listing uses when nobody is wearing it. A photo of the garment on another model also works, but the tool then has to separate clothing from that person, and fine detail gets lost in the process.
Better than we expected. In our test a black tee with the words "NORTHERN ROUTE 1987" over a mountain logo came back with both intact. It is not guaranteed on fine or busy artwork, so check the result at full size, and it helps to ask for the print to be reproduced exactly in the notes box.
Not on this page — the second upload is required, because without a garment photo there is nothing to try on. Describing an outfit in words is a different job, and the Images surface is where that belongs.
Only with their permission. Use photos you own or are licensed to use, and do not generate images of someone wearing something in a way that implies an endorsement or a situation that never happened.