Family albums
Seeing a grandparent’s dress or garden in colour changes how the photo reads to everyone under 40.
Upload the scan, pick how the colour should feel, and AI infers skin, fabric and light from context — the composition and the faces stay exactly as they are.
Follow us and get 20 free credits — about 5 images
Colour is inferred, not recovered. Name colours you know and the model will follow them.
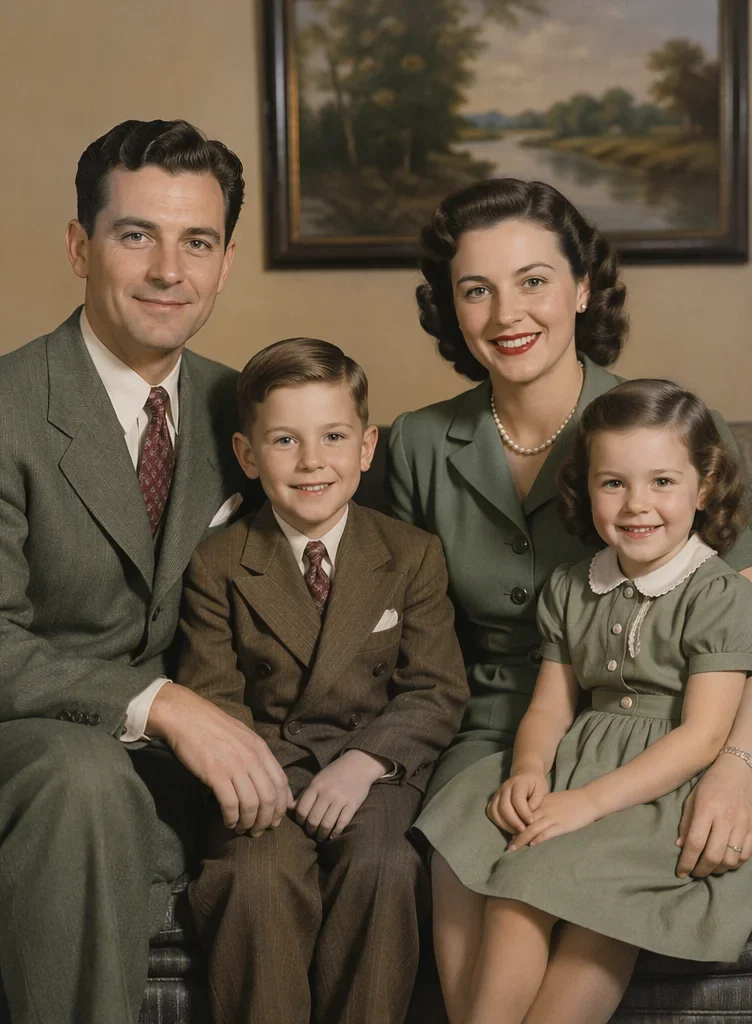
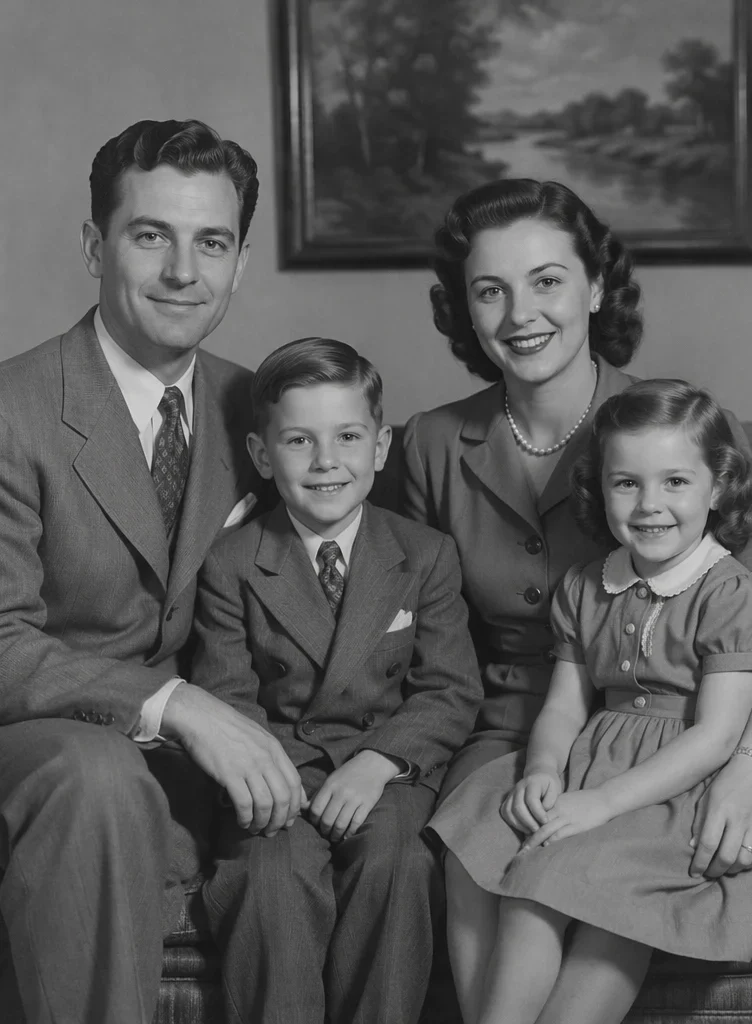
Our own before/after test — drag the handle to compare.
Subscribe for more credits and more models.
Upload the black-and-white scan above, choose how the colour should feel — natural, 1950s film, warm vintage, cool documentary or vivid modern — and generate. In about a minute you get the same photo in colour, with the faces, clothing shapes and framing untouched, and a slider to compare. If you know what colour something really was, type it in: that single sentence is the difference between a guess and a good colorization. Following us on X and YouTube earns 20 free credits, which covers your first five photos here; after that each one is billed per image.
The print is also scratched, torn or faded? Repair it first with photo restoration
People colorize old photos for four quite different reasons.
Seeing a grandparent’s dress or garden in colour changes how the photo reads to everyone under 40.
Street scenes, shopfronts and everyday life, where period-correct tone matters more than saturation.
A colourised copy for a frame, an anniversary card or a funeral slideshow.
Family trees and memory books, where a colour version sits beside the original scan.
The second step is the one that decides whether the result is believable.
Black and white, sepia or faded monochrome — all fine. Higher-resolution scans colorize with fewer artefacts.
Choose the era feel, then type any real colours you remember — "the coat was dark green, the walls cream".
Check skin tones and any uniform or logo against the original, then download or re-run with a different palette.
Where AI colour is reliable and where it is guessing. Colour is inferred from context, so the honest answer depends on how much context the photo gives.
| What is in the photo | Expected result | What to do |
|---|---|---|
| Clear portrait, good tonal range | Best case — skin, hair and everyday clothing land convincingly | Nothing needed; the natural palette handles it |
| Outdoor scene: sky, foliage, brick | Strong — the model knows what grass and sky should be | Name the season if the greens look wrong |
| Uniforms, medals, flags, sports kit | Frequently wrong — insignia colour cannot be read from grey | Type the real colours in; this is what the field is for |
| Patterned or printed fabric | The pattern survives, the colour is invented outright | Accept it, or name the dominant colour |
| Blown-out white areas, heavy grain | Weak — there is no tonal information left to colour | Restore or denoise the scan first, then colorize |
| Already yellowed or sepia-stained print | The stain can be read as real colour and amplified | Repair the stains first, then colorize the clean copy |
Real colorizations. Everyone shown is an original AI-generated character, not a real person.
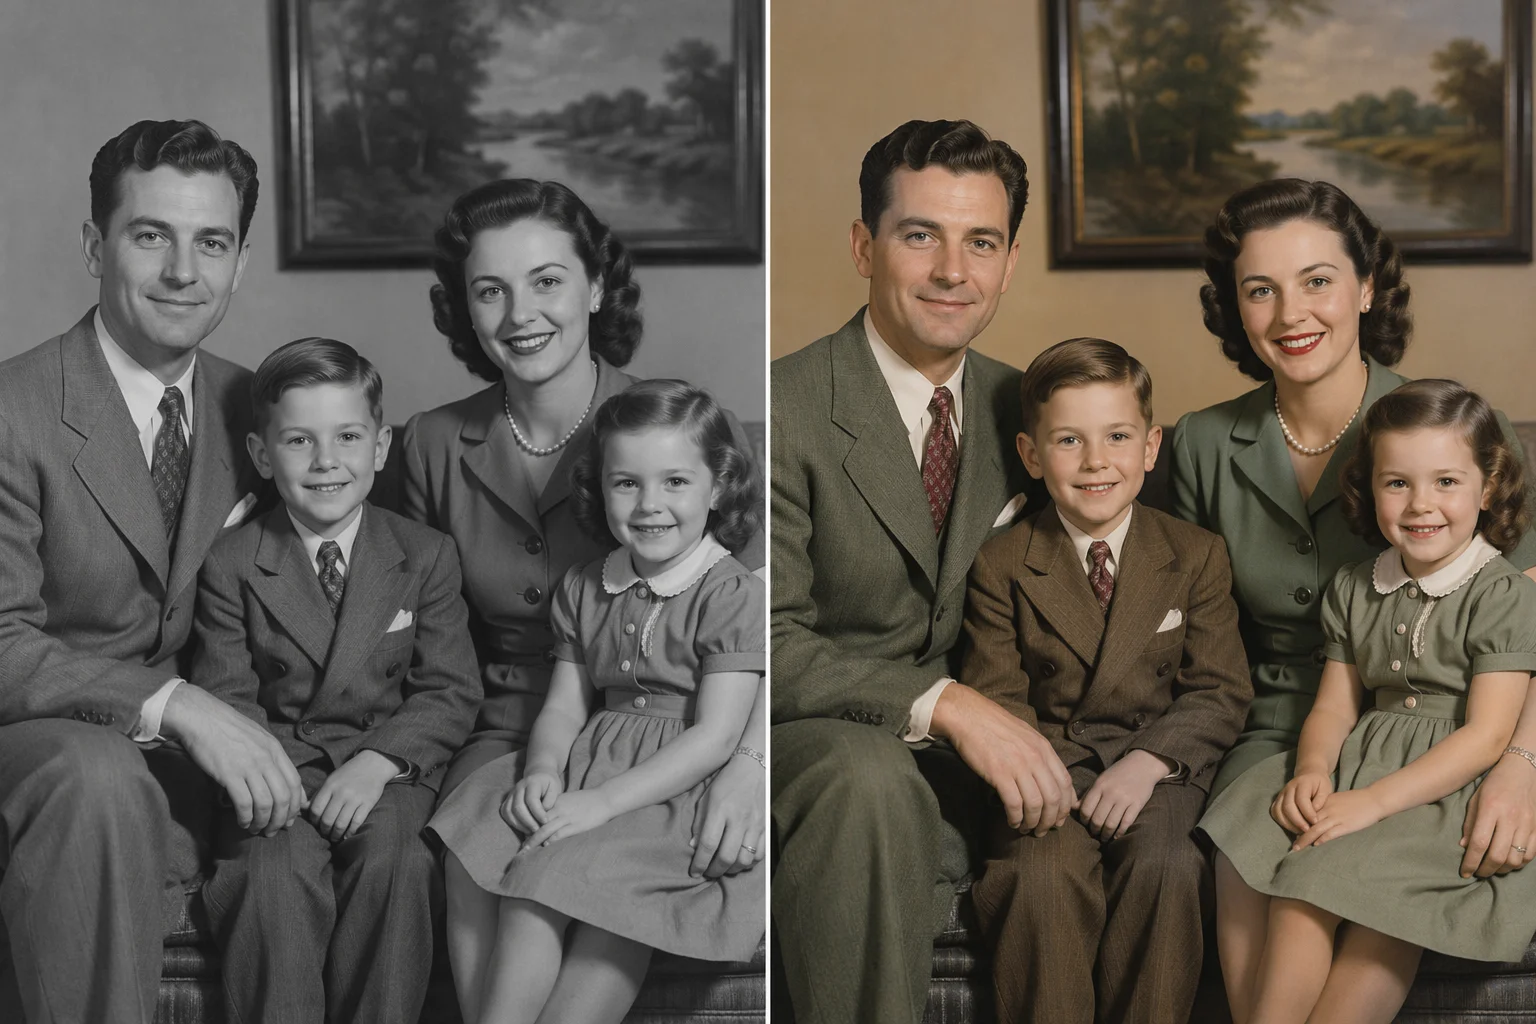
A 1940s group portrait with warm, period-plausible tones.
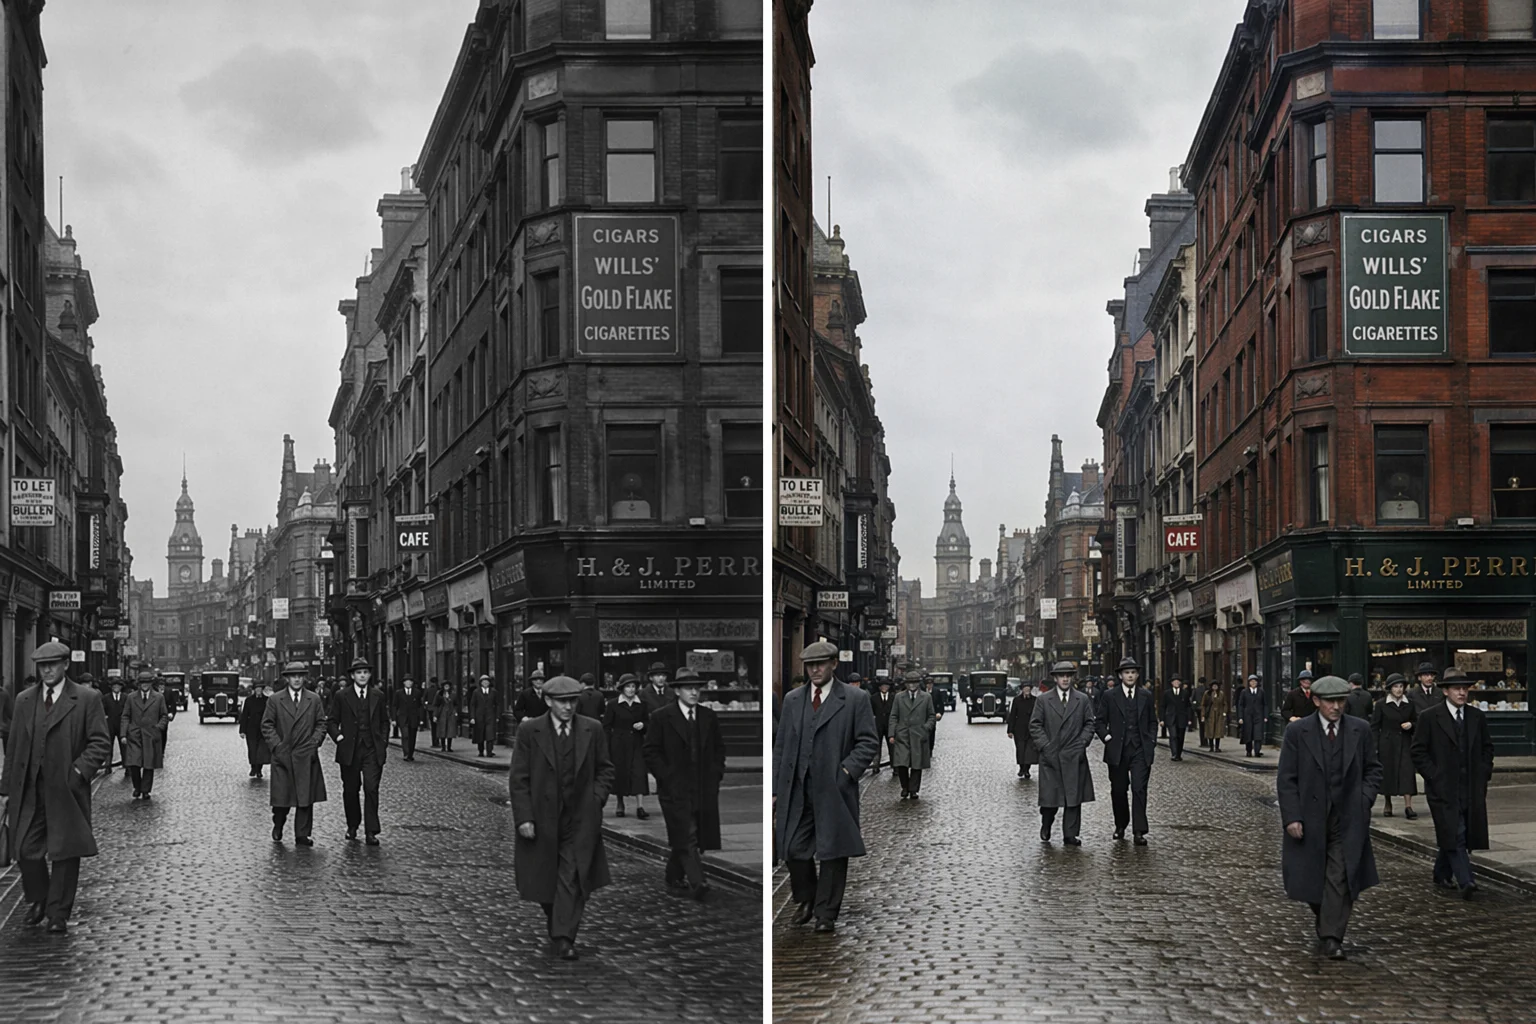
Buildings, sky and road surfaces — the case AI handles most reliably.
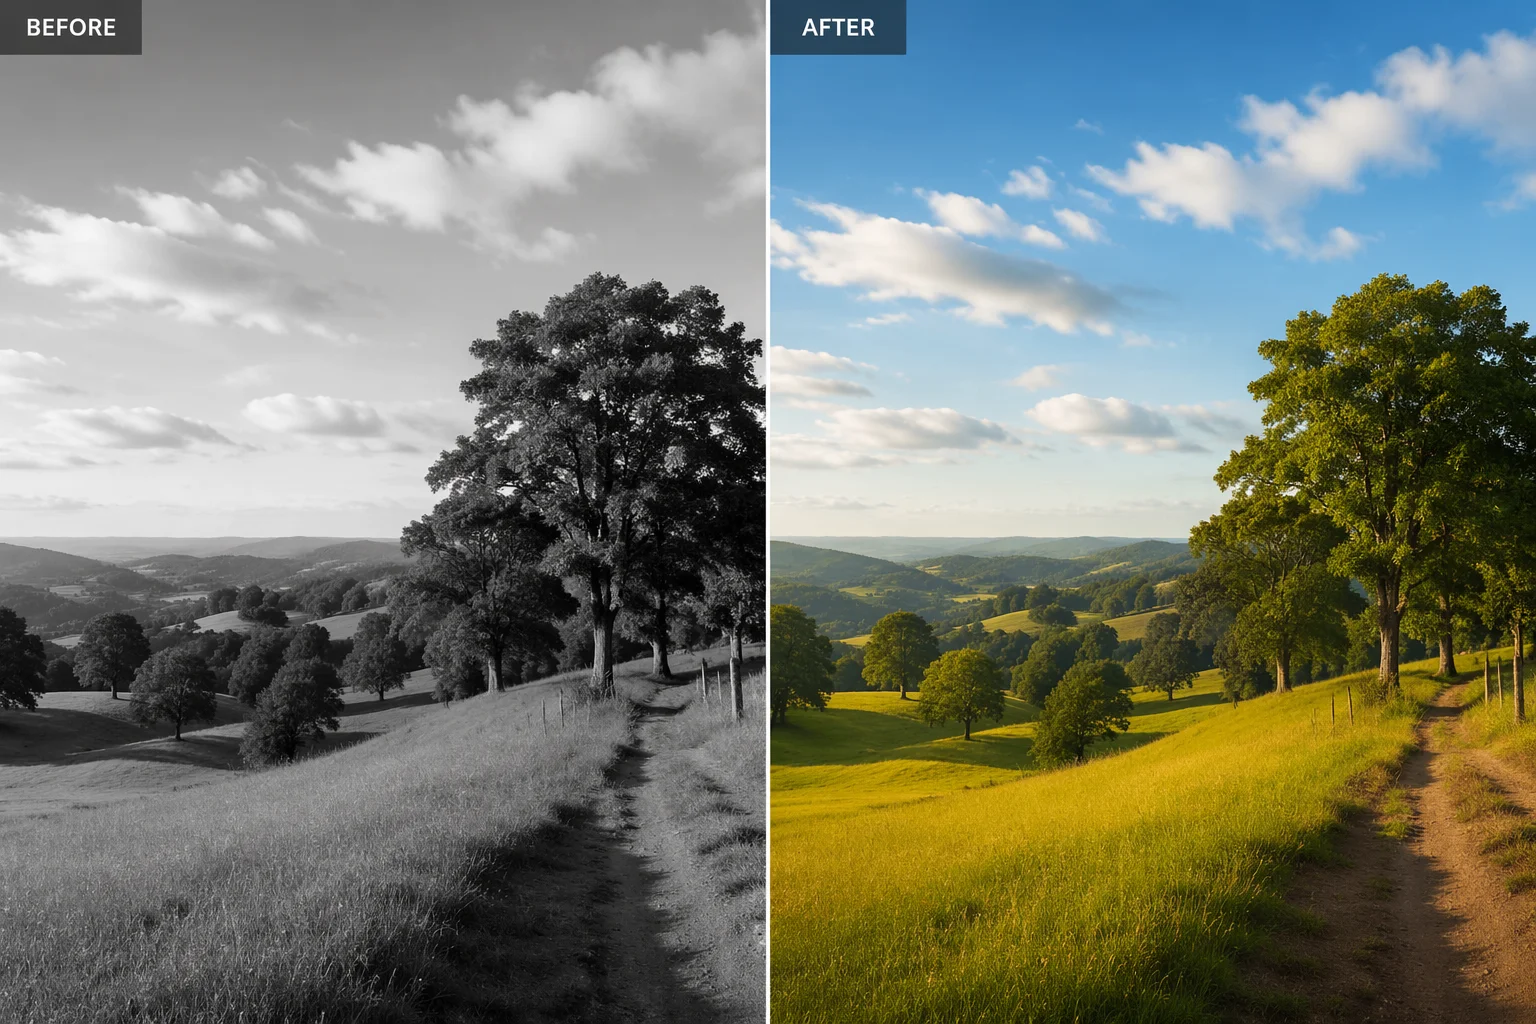
Foliage and water, where context makes the colour easy to infer.
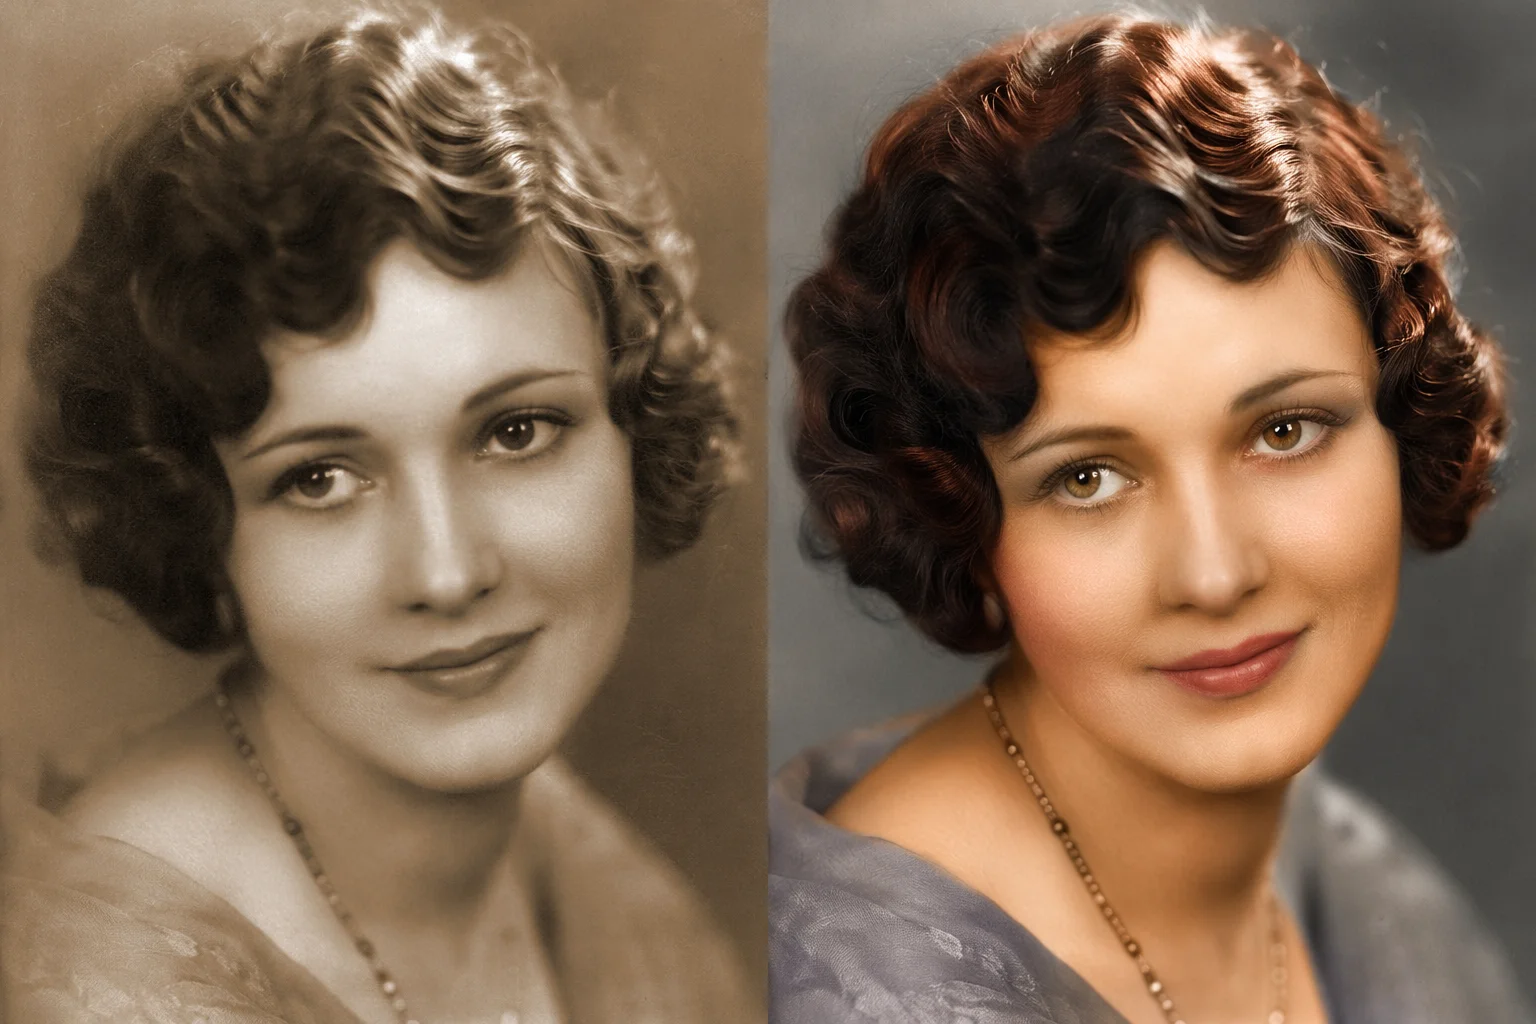
A stained sepia print read back to neutral skin and hair tones.
Start with the fact every colorizer page skips: a black-and-white photograph contains no colour information. Nothing in the negative records that the dress was red. What the model has is brightness, texture and context — a face, a lawn, a brick wall, a sky, a 1950s car — and a great deal of learned knowledge about what such things usually look like. Colorizing is therefore inference, not recovery. When people say a colorization looks "right", what they mean is that the inference was plausible and consistent.
That framing tells you exactly where it is strong and where it fails. Skin, hair, foliage, sky, wood, brick and everyday clothing are highly constrained by context, so they come out well. Anything whose colour is a convention rather than a physical property — a military uniform, a football kit, a national flag, a brand logo, a school tie — is a coin flip, because grey cannot tell the model which convention applied. This is why the instruction box on this page is not decoration: typing "the uniform was navy, the trim was gold" moves those items from guesswork to instruction, and it is the single highest-value thing you can do for a family photo.
Mechanically, your scan goes into Nano Banana 2 Lite as a reference image with an instruction to add colour and change nothing else. The palette pill matters more than it looks: most "unnatural" colorizations are not wrong hues but wrong era — modern saturation applied to a 1930s photo reads as fake even when every colour is defensible. Picking a period palette fixes that in one click. Whatever comes out, keep your original scan: the colour version is an interpretation, and the archive copy is the monochrome one.
Three routes come up in the searches around this topic, and they behave differently enough that the choice matters.
A general chat assistant will colorize a photo you paste in, and the colour itself is often decent. The problem is that these models regenerate the whole image, so faces, framing and small details can come back changed — fine for a fun share, risky for a family portrait you plan to print, and hard to compare because you get a new picture rather than the same one in colour. A dedicated colorize tool like this page constrains the edit: add colour, keep everything else.
Photoshop is the opposite trade-off. Hand-colouring with masks and adjustment layers gives you total control — every region exactly the colour you choose, non-destructive, defensible for archival work — and it takes twenty minutes to an hour per photo plus the skill to do it. If you are colorizing one important photo and you know the real colours, that is still the highest-quality route.
This page sits between them: one upload, about a minute, four credits, the composition untouched, and a text box where you can pin down the colours you actually know. Run it, compare, and if the result gets a specific colour wrong, say so in the box and run it again — two attempts here still cost less than the coffee you would drink while masking a coat in Photoshop.
Family scans are personal. What happens to them here:
Picking a file only previews it on your device. Not one byte is stored until you sign in and click generate.
Uploads land in your private library, never a public gallery, and re-running the same photo stores nothing new.
Remove uploads and results from your library whenever you want.
Credits work across every tool — upscaling, image editing and the video models.
For first-time AI content creators
Billed $168 annually
Upgrade PlanSave $72/year
For creators shipping content every week.
Billed $504 annually
Upgrade PlanSave $216/year
For studios and pros producing at commercial scale.
Billed $1680 annually
Upgrade PlanSave $720/year
For first-time AI content creators
Billed monthly
Upgrade PlanFor creators shipping content every week.
Billed monthly
Upgrade PlanFor studios and pros producing at commercial scale.
Billed monthly
Upgrade PlanRenews automatically each year until canceled.
Renews automatically each month until canceled.
Colorize here, then repair damage, upscale for a print, or animate the result in the Renoise Canvas.
Following us on X and YouTube earns 20 free credits. Colorizing a photo costs 4 credits, so your first five are free. After that each photo is billed per image — there is no free plan, and no subscription is needed to spend the credits you were given.
It can add colour, but it regenerates the whole image, so faces, framing and details often change along the way. A dedicated colorizer constrains the edit to colour only, which is what you want for a photo you intend to keep or print.
They are plausible, not documented. A black-and-white photo holds no colour data, so the model infers from context — reliable for skin, sky and foliage, unreliable for uniforms, flags and logos. Name the colours you know and it will use them.
Yes, and you should. Type it in the instruction box — "the dress was dark green, the car was maroon" — and the model follows those colours instead of guessing. This is the biggest single improvement you can make to a colorization.
Exports are watermark-free on paid plans. Whatever you generate, you compare it against your original with the slider first, so you always know exactly what changed.
They are separate jobs here. Repair scratches, tears and stains on the photo restoration page first, then colorize the clean copy — stains left in place tend to be read as real colour and amplified.
Upload the scan on this page and generate: the 20 credits a follow earns cover five photos with no subscription. Scan the print as large as you can first — resolution changes the result more than any setting here.
JPG, PNG and WebP up to 20MB, one photo per run. The output keeps your original proportions rather than being cropped square, and comes back at 1K — use the upscaler if you need it print-sized.
Only photos you own or are allowed to edit. Archive photographs and other people’s family pictures belong to someone; check before you colorize and republish them.