Fading and colour shift
Washed-out prints and the orange cast old colour film drifts into — the easiest damage to fix well.
Upload a scan or a phone shot of the print, say what the damage is, and AI rebuilds the faded, scratched and torn parts while keeping the people and the framing.
Follow us and get 20 free credits — about 5 images
Upload photos you own. Restoration rebuilds detail — always compare against the original scan.
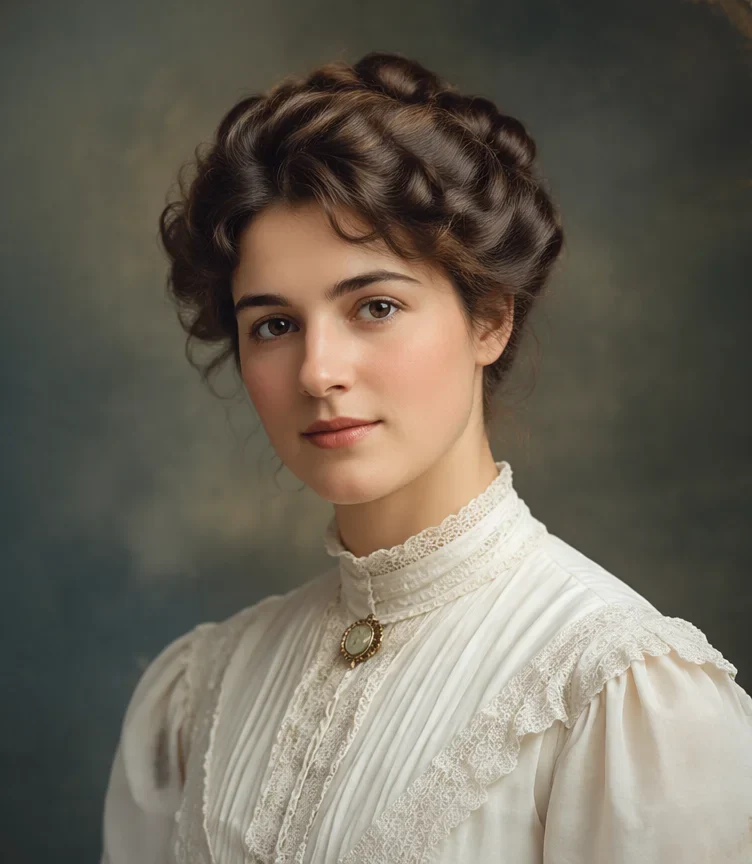
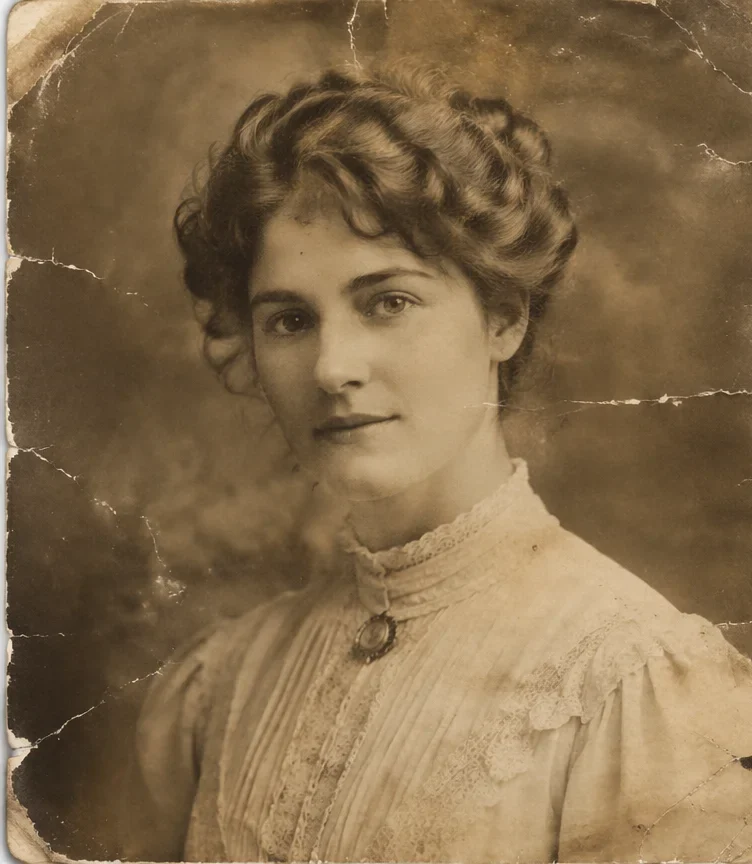
Our own before/after test on a damaged print — drag the handle to compare.
Subscribe for more credits and more models.
Scan the print (or photograph it flat, in even light), upload it above, pick the damage that dominates — fading, scratches, torn edges, blur or stains — and generate. In about a minute you get a repaired copy with the same people and framing, plus a slider to compare it against your original. Following us on X and YouTube earns 20 free credits, which covers your first five restores here; after that each one is billed per image. Old photo restoration by AI takes seconds rather than days, and because it is cheap you can run the same scan twice with different damage settings and keep the better result.
The photo is black and white and you want colour? Use the photo colorizer
Four kinds of damage, one upload box.
Washed-out prints and the orange cast old colour film drifts into — the easiest damage to fix well.
Fine surface scratches, dust, and the fold line down a photo that lived in a wallet.
Missing areas get rebuilt from what surrounds them — plausible, but invented.
Definition comes back, but this is where a restore can start drifting away from the person.
How you capture the print matters more than any setting on this page.
Scan at 600 DPI if you can. Phone photo? Flatten the print, shoot straight down in indirect daylight, avoid glare.
Pick the damage that dominates and, if it matters, add facts — "the dress was navy", "keep both faces exactly".
Drag the slider against the original. If a face drifted, re-run with a sharper scan or a stricter instruction.
What actually happens by damage type. AI restoration is reconstruction, not forensics — this table is the part most tools leave out.
| Condition of the print | Expected result | What to do |
|---|---|---|
| Faded or yellowed, otherwise intact | Best case — contrast and tone come back convincingly | Nothing special; the default setting handles it |
| Fine scratches, dust, one fold crease | Strong — surface damage disappears and detail underneath survives | Scan at the highest DPI you can so the crease is thin in pixels |
| Restore old damaged photo: missing corner or a tear | Good, but the missing area is invented — plausible, not recovered | Accept it for background; be careful if the tear crosses a face |
| Very soft or motion-blurred faces | Riskiest case — features get rebuilt and can drift into a different person | Compare closely; a sharper scan changes the result more than any prompt |
| Group photo, many small faces | Mixed — check every face, not just the one you care about | Crop to one or two people and restore them separately |
| Heavily torn, mouldy, or the only surviving copy | Try it, but this is where a human retoucher still wins | Keep the original scan untouched, and consider a restoration service |
Real restores. Every person shown is an original AI-generated character, not a real individual.
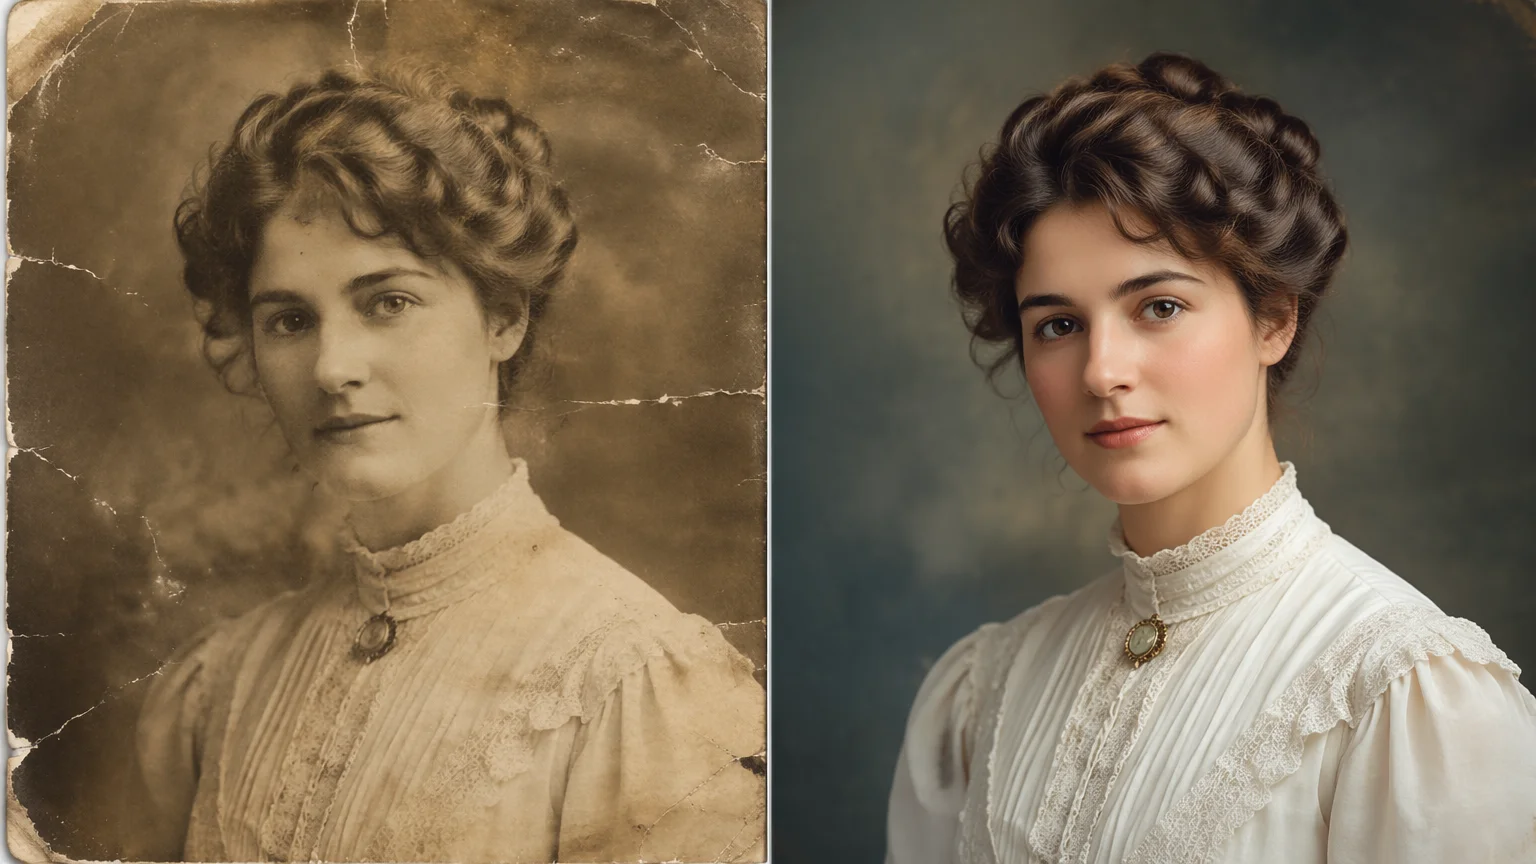
A washed-out sepia portrait brought back to full contrast and natural tone.
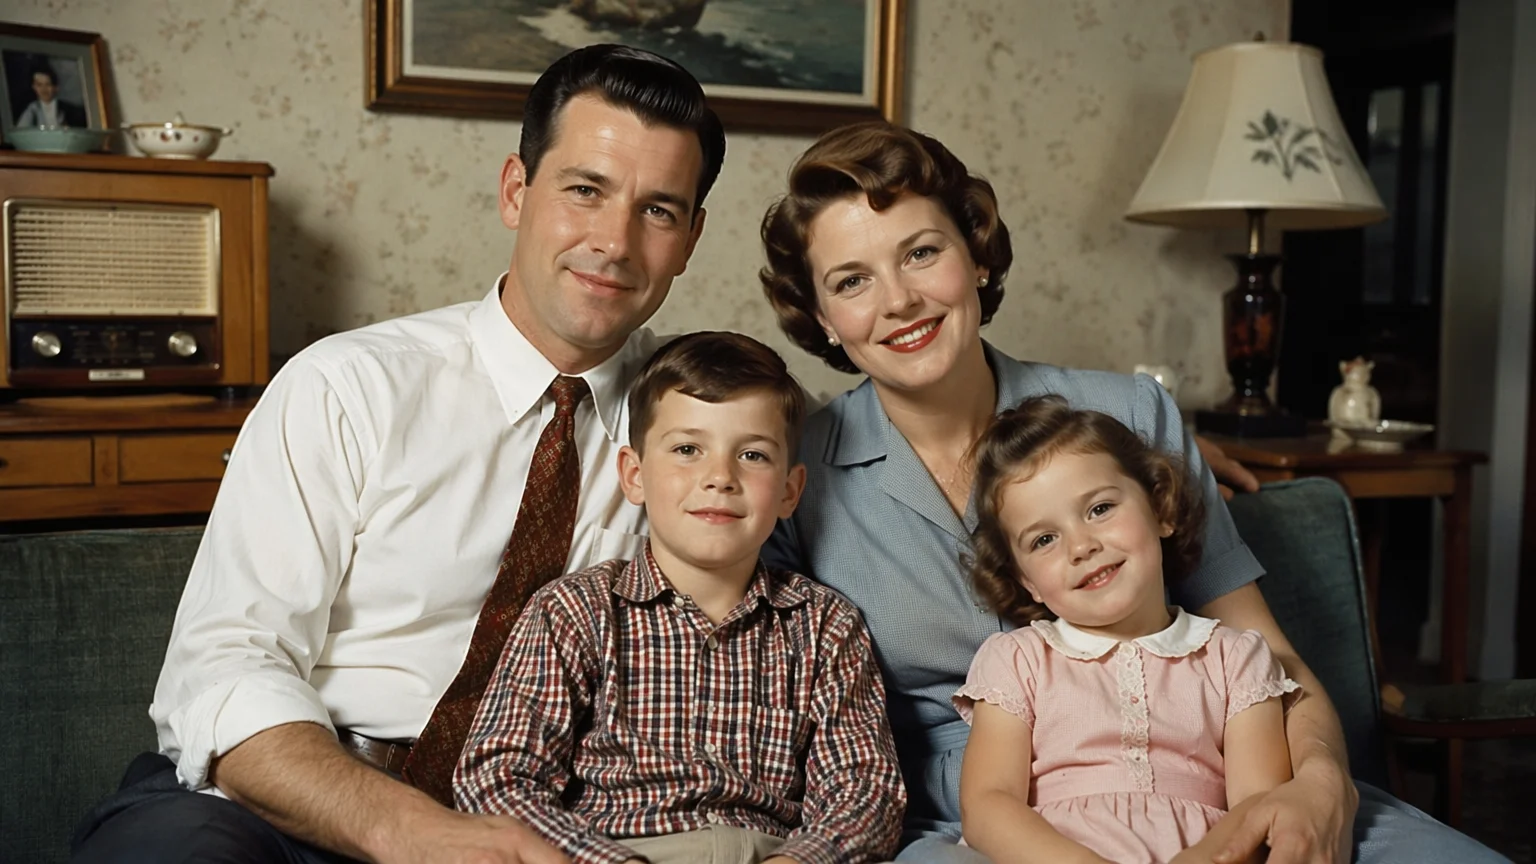
A 1950s group photo cleaned up with the composition and every face kept.
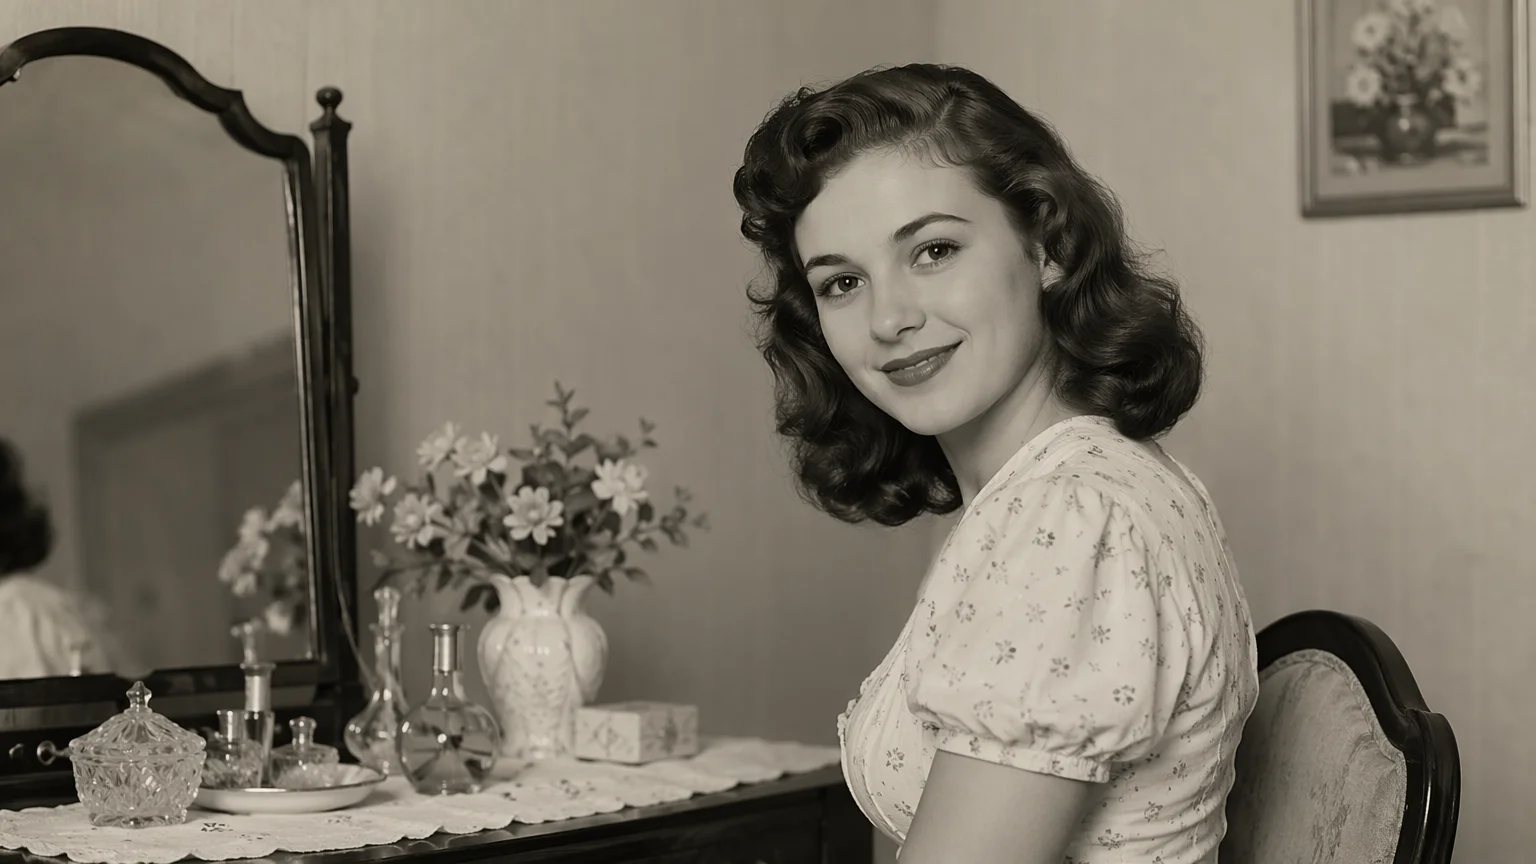
Surface scratches and a torn edge rebuilt from the surrounding image.
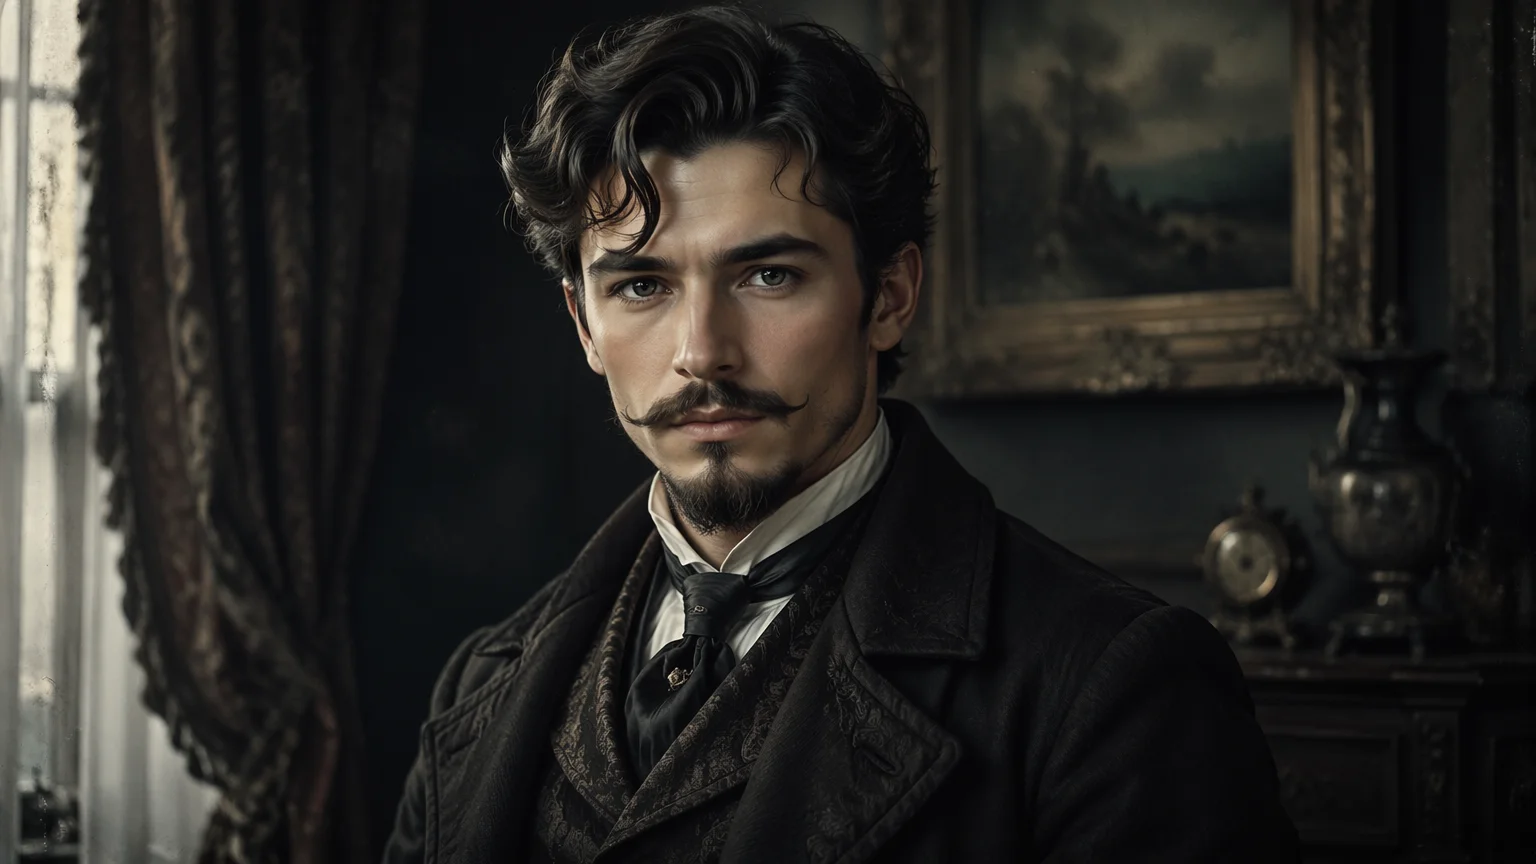
A blurry print sharpened — the case that needs the closest check.
Your scan goes into Nano Banana 2 Lite — one of Google's Gemini image models — as a reference image, together with an instruction that names the damage and forbids changes to the people and framing. The model does not repair the photo the way a retoucher does, patch by patch. It regenerates the whole image while trying to stay faithful to what it can see, which is why the tones come back so convincingly and why the damage simply is not there in the output: it was never copied across.
That is also the one thing you should keep in mind. Where the original has information, restoration recovers it. Where the original has nothing — a torn-off corner, a face reduced to eight soft pixels — the model fills the gap with something plausible. A restored face can end up subtly not the same person, and the softer the original, the further it can drift. This is not a bug we can prompt away; it is what generative restoration is. So the workflow on this page is deliberately built around comparison: the slider stays next to your original, and the instruction box defaults to locking faces, expressions, clothing and framing.
Two practical consequences. First, scan quality beats every setting here — 600 DPI off a flatbed gives the model more to work with than any wording you can add, and a phone shot taken flat in indirect light is a fine substitute. Second, this is not an archival process: keep your original scan, treat the restore as a copy for sharing and printing, and if the print is a one-of-a-kind heirloom in bad shape, a human restorer is still the better call. When the copy is good, the same canvas can colorize it, upscale it for a frame, or turn it into a short animated clip.
Search results for old photo restoration mix two very different products: software you run yourself, and people who do it for you — local print shops, pharmacy counters, freelance retouchers on Fiverr and Etsy. The searches around it ("how much does it cost to restore an old photo", "old photo restoration near me") say plainly that a lot of people are still deciding which one they want, so here is the honest split.
A service is worth paying for when the print is a one-off in rough shape: badly torn, mould-damaged, stuck to glass, or so faded that a human has to make judgement calls about what used to be there. A retoucher works patch by patch, keeps identity intact by hand, and can tell you what they changed. You pay per photo and wait days.
AI is the better tool for volume and for iteration: a box of faded but intact prints, a scan you want to test before deciding it is worth paying for, a photo you need tonight for a birthday slideshow. It costs a few credits, takes about a minute, and you can run it again with a different setting. The two are not rivals — using this page to see whether a photo can be saved at all is a reasonable first step before you send the original to anyone.
Family photos are the most personal thing you can upload. What happens to them:
Picking a file only previews it on your device. Not one byte is stored until you sign in and click generate.
Uploads land in your private library, never a public gallery, and re-running the same photo stores nothing new.
Remove uploads and results from your library whenever you want.
Credits work across every tool — upscaling, image editing and the video models.
For first-time AI content creators
Billed $168 annually
Upgrade PlanSave $72/year
For creators shipping content every week.
Billed $504 annually
Upgrade PlanSave $216/year
For studios and pros producing at commercial scale.
Billed $1680 annually
Upgrade PlanSave $720/year
For first-time AI content creators
Billed monthly
Upgrade PlanFor creators shipping content every week.
Billed monthly
Upgrade PlanFor studios and pros producing at commercial scale.
Billed monthly
Upgrade PlanRenews automatically each year until canceled.
Renews automatically each month until canceled.
Restore it here, then colorize it, upscale it for a frame, or animate it in the Renoise Canvas.
Following us on X and YouTube earns 20 free credits. A restore costs 4 credits, so your first five are free. After that each restore is billed per image — there is no free plan, and no subscription is needed to spend the credits you were given.
Usually, yes. Age matters less than what survives on the print: a sharp 1920s portrait restores better than a blurry 1990s snapshot. What cannot be recovered is information that is gone — a missing corner is rebuilt as a plausible guess, not as the original.
Here it is 4 credits per restore, with your first five covered by the free credits. Human restoration services charge per photo and take days, which is worth it for a badly damaged one-of-a-kind print — this page is the fast, cheap option for everything else.
Yes. Pick the scratches or torn-edges setting and the damage is rebuilt from the surrounding image. Fine scratches and fold creases come out cleanly; a tear running across a face is the case to check most carefully.
That is the right question to ask. The default instruction locks faces, expressions and clothing, and with a decent scan the person comes through. With a very soft original the model has to rebuild features and can drift — always compare against your scan before sharing it.
No. It runs in the browser on a phone or a desktop with nothing to install. Desktop is easier for judging a restore, because you can see both versions at full size.
Better scan, better restore — 600 DPI on a flatbed is ideal. A phone photo works if the print is flat, the light is even and there is no glare. Scan the whole print, including its border, so nothing gets cropped away.
Restoring and colorizing are separate jobs and this page does the repair. Run the restore first, then take the clean copy through the photo colorizer — that order gives the colorizer more real detail to work from.
This page outputs 1K, which is fine on screen and for small prints. For a framed reprint, run the restore through the image upscaler or generate at 2K/4K on the image generation page.
Only photos you own or are allowed to edit — family prints, your own archive. A photographer’s work or someone else’s family photo is theirs; ask before you restore it.